
Updating the GPD MicroPC 2 firmware is a simple procedure, but it can seem intimidating for first-timers. Our guide will take you through each step of the process.
The current version v2.13 has the following changes:
- Removed invalid DDR frequency settings
- Added TDP setting options for 6W, 8W, 10W, 12W; 6W and 8W support fan silent fan mode
- Enabled advanced options
Please note that while BIOS updating is generally fine, there are risks. Please ensure you follow all steps correctly, identify that you are installing the correct BIOS for your device, have a fully charged battery and also connected to a charger. Do not switch off the device unless instructed to. We do not accept responsibility if something goes wrong.
Ways to identify your CPU on your device:
- To access Task Manager, right click on the Windows Start icon and choose Task Manager from the list. Alternatively you can type Task Manager in the Windows Search Bar.
- You can find your CPU model in Windows quickly through Settings (About your PC), or the System Information app (msinfo32), all showing the processor’s name and spec.
Using Settings (Easiest for Windows 10/11)
Click the Start Menu (Windows icon) and type about.
Select About your PC from the results.
Look under “Device specifications” for the Processor entry, which lists your CPU model (e.g., Intel Core i7-10750H).

Check which BIOS version you are currently on #
Power on the GPD MicroPC 2 and immediately and repeatedly tap the Backspace key on the keyboard. Keep doing this until the BIOS menu is shown. If it boots to Windows, repeat the process again.

The BIOS version number will be displayed on the Project Version, in the above image it is 2.13 and the EC Version is 2.13, which is BIOS v2.13
Downloading the Update #
First, you’ll need to get the GPD MicroPC 2 BIOS update here. Be aware that some antivirus programs might incorrectly flag the file as a threat because its purpose is to modify the system’s BIOS.
Changes for v2.17
- Fix Touch Screen no function after S3 resume while OS is Linux issue.
- This BIOS was built with EC V2.14 included, Please update BIOS with AC inserted.
- Support Windows update EC.
Preparation Steps #
Before starting the installation, ensure your GPD MicroPC 2 is fully charged and plugged into the power adapter. We also advise closing any open software, as the device will restart automatically once the update is done.
After downloading, extract the contents of the .zip file. You should see a file named BIOS_M2_V2.17_GPD.exe in the AfuWin folder.
Installing the BIOS Update #
Run the .exe file by double-clicking it and approve any Administrator access requests that appear. After a moment, a command prompt window will open to begin the update.

Before proceeding, please verify that your device’s battery is full and the power adapter is connected. When you are ready, press any key to initiate the BIOS update.

After a brief wait, you will be prompted to reboot the device to proceed with the BIOS update.
Once rebooted, the BIOS update will now proceed. Do not switch off the device during this process. It will take a couple of minutes to update.

When the update is complete, the GPD MicroPC 2 will reboot and show a blank screen. Do NOT switch off or press any buttons during this process. It may take a few minutes.

Allow a moment for the GPD MicroPC 2 to shut down and power off completely. Wait until the power LED is no longer lit, then press the power button to switch the device back on. Windows will then boot up as normal. Please be aware that the initial startup following a BIOS update can sometimes take a little longer than usual.
This concludes the BIOS update process, and your device is now ready for use.
To verify that the update was successful, you can enter the BIOS menu and check the number displayed next to the EC Version. This number should match the version you just installed For example in the below photo, the Project Version shows 2.17 and the EC Version shows 2.13

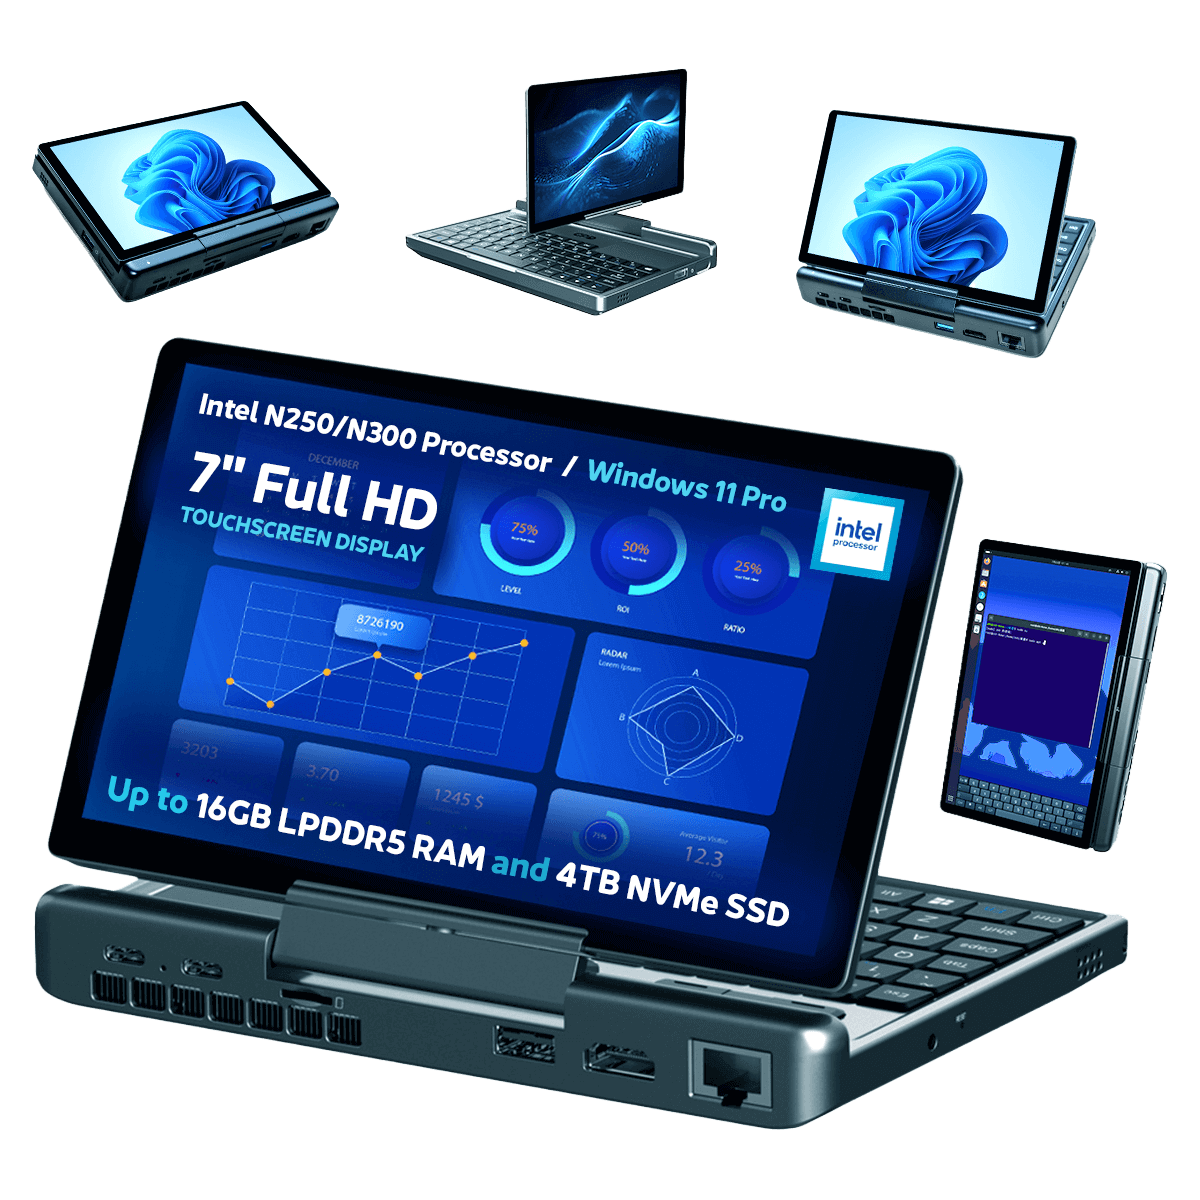
Mini PC 2 N300.
I flashed the BIOS from Windows 11, 2.16 –> 2.17 downloaded from gpd.hk.
The PC went into a BIOS screen and a 100 % write, then it restarted and I saw the BIOS boot screen.
A second after the PC turned off and it’s bricked.
It doesn’t charge the battery and it doesn’t have a power indicator. No amount of holding the power button or “reset pin” has any effect.
Please fix the issue and remove the 2.17 BIOS from gpd.hk
This is happening on a large scale
We are not GPD.hk so you would need to speak to them about removing it from their site. Many of our customers and ourselves have updated many using our own guide and have not run into any issues. If you downloaded it from GPD website then you may not have followed our guide. If you purchased it from us at GPD STORE, please contact our customer service at [email protected] with your order number and our customer service will be able to assist. If not, you would need to contact where you purchased it from.
Thank you, Dave.
I’ve tried long pressing the power button, and resetting by a pin, however, the power didn’t turn on.
I will ask to repair to the dealer in Japan.
Thanks.
I had applied the 2.17 bios. PC had automatically rebooted and bios seemed to be updated. Then, the power had been down. After that, I could not turn on the PC’s power. Could anyone help me?
Press and hold the power button for a few moments. It may take a little longer to boot than usual after a BIOS update. Also try pressing the reset button with a pin, hold it down for a moment, release and then press and hold the power button until it switched on.
Hi Dave.
Thank you for the info and the BIOS update file.
For some reason I couldn’t get the GPD website file to work.
The one I downloaded from your site worked well.
HOWEVER my PC was locked by Bitlocker after upgrading the BIOS !
Luckily I had the Bitlocker code and now everything is fine.
Thanks again 🙂
As the BIOS can update some hardware information between versions, it may cause Bitlocker to think something has changed and lock the system for security.
Hi.
Version 2.17 is now available but it seems to be corrupted.
I had no problem installing 2.16.
You need to enter the password “123” to extract the archive if you downloaded from GPD website. We have updated this page with v2.17 BIOS update, please download it from above and follow the updated guide to install it.
To whom this may be useful: I followed this tutorial to update from BIOS version 2.13 to BIOS version 2.16.
After the update, the “EC version” was still on 2.13. However, the “Project version” is on 2.16 and the “Build date and time” matches the date of version 2.16 in the file “BiosChanges..txt” – 2025-09-03.
So I assume that the BIOS has been updated to 2.16, although the EC version is still on 2.13.
This is contradictory to the statement on this site: “If you want to check the BIOS update has been applied, you can check in the BIOS menu under the EC Version number”.
Go here and scroll down to see a screenshot of the BIOS screen after updating to 2.16:
https://droix.net/knowledge-base/article/how-to-update-the-gpd-micropc-2-bios/
Thanks for the info.