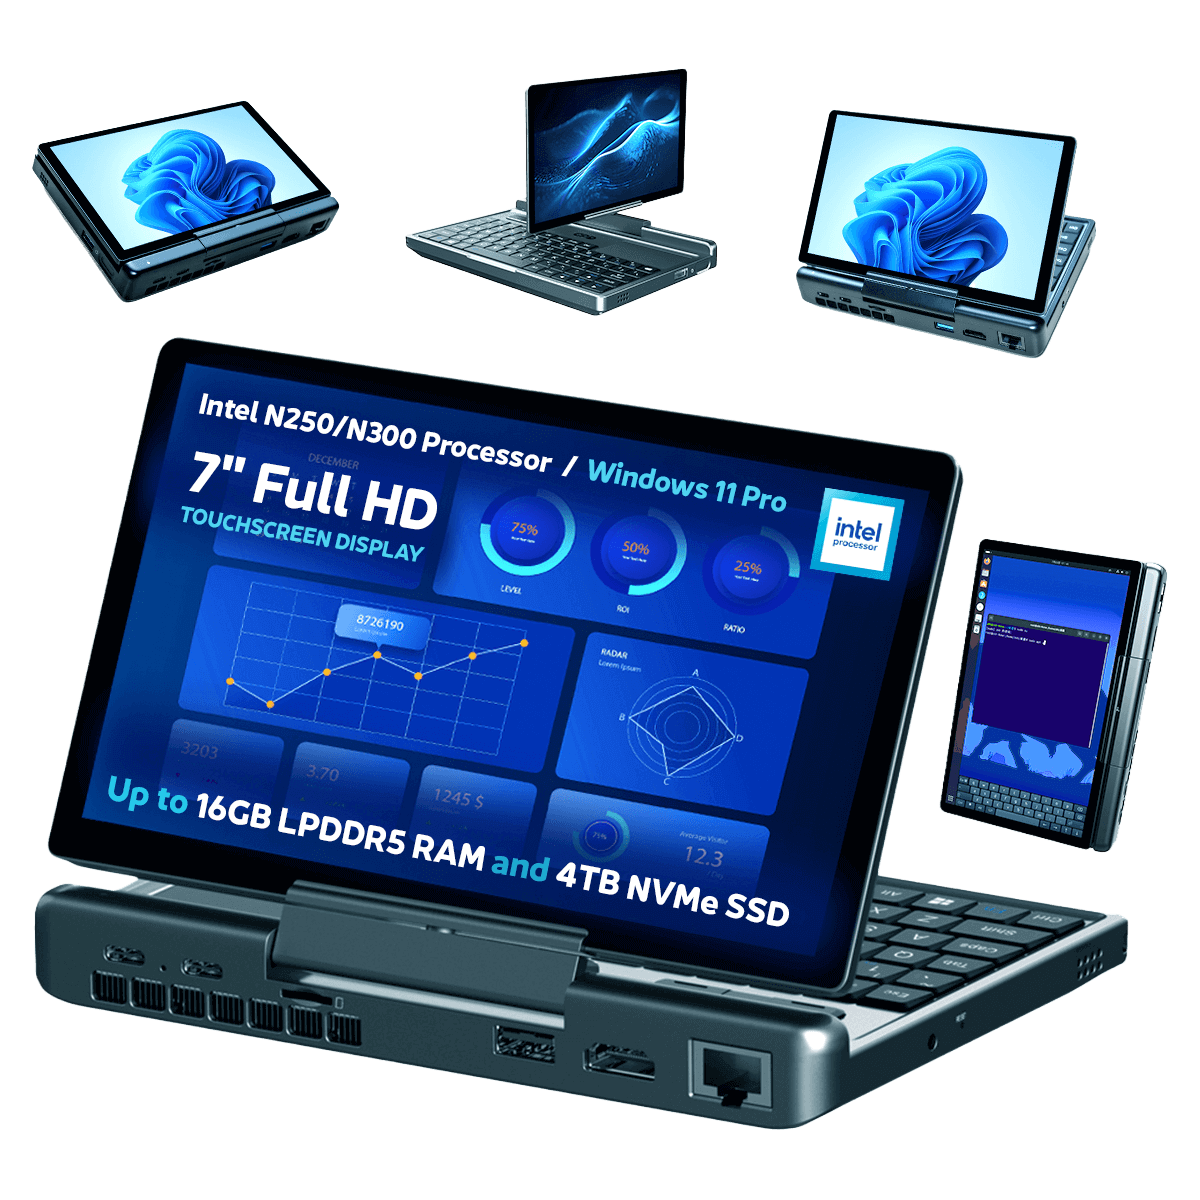
Changing the TDP on a device allows you to increase or decrease the power usage, and in turn the performance of a device. This can be useful for example if you need more performance for higher demanding tasks, or low performance when reading an eBook. this step by step guide will show how to change the TDP on the GPD MicroPC 2.
Accessing the BIOS #
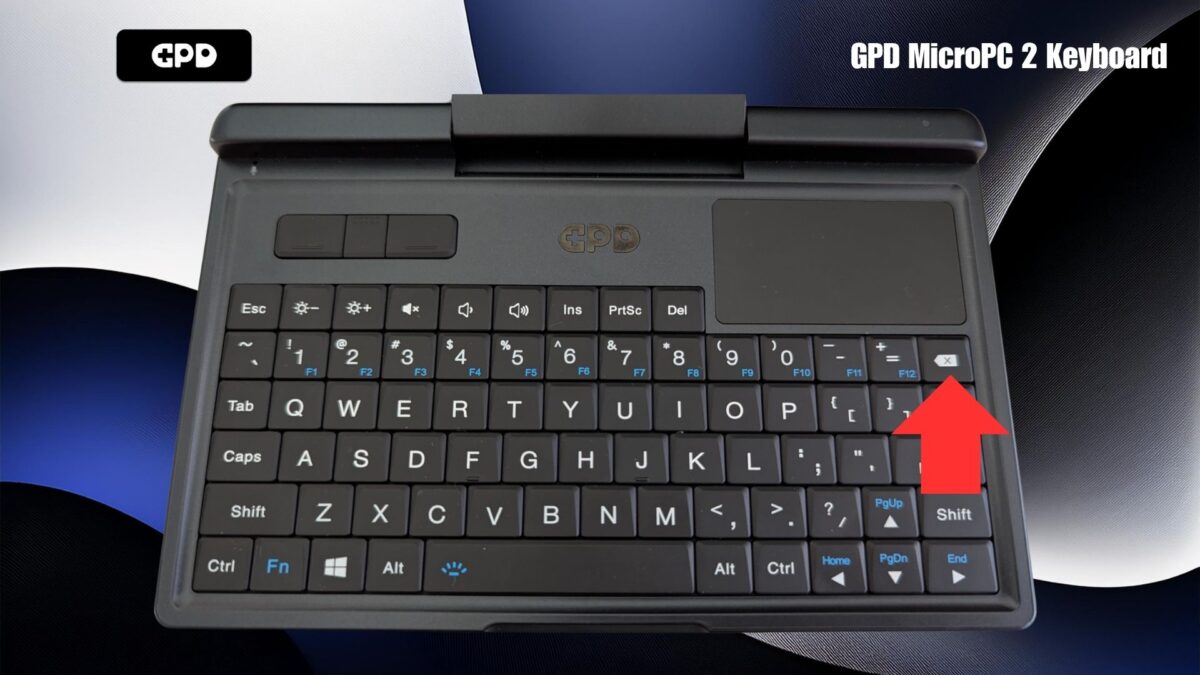
Switch on the GPD MicroPC 2 and immediately and repeatedly tap the Backspace key on the keyboard. Keep doing this until the BIOS menu is shown. If it boots to Windows, repeat the process again.
Changing the TDP #
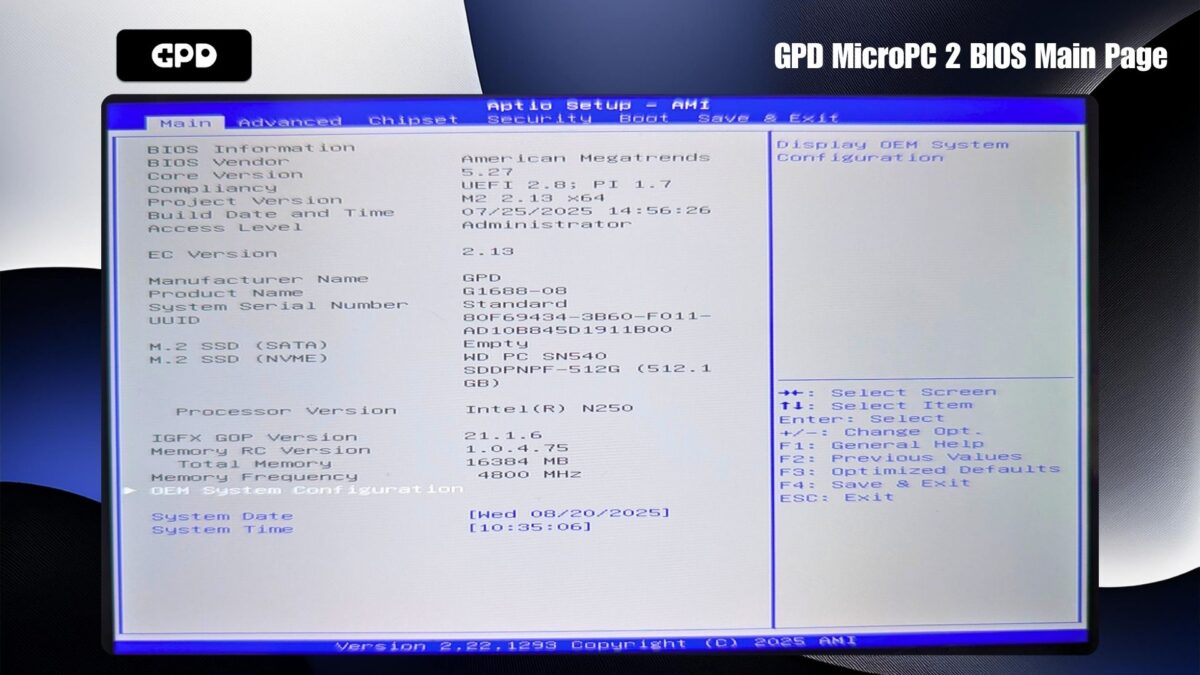
Using the Up & Down arrow keyboard keys, select OEM System Configuration and press the Enter key.
On the OEM System Configuration menu, navigate to Configurable TDP and press Enter
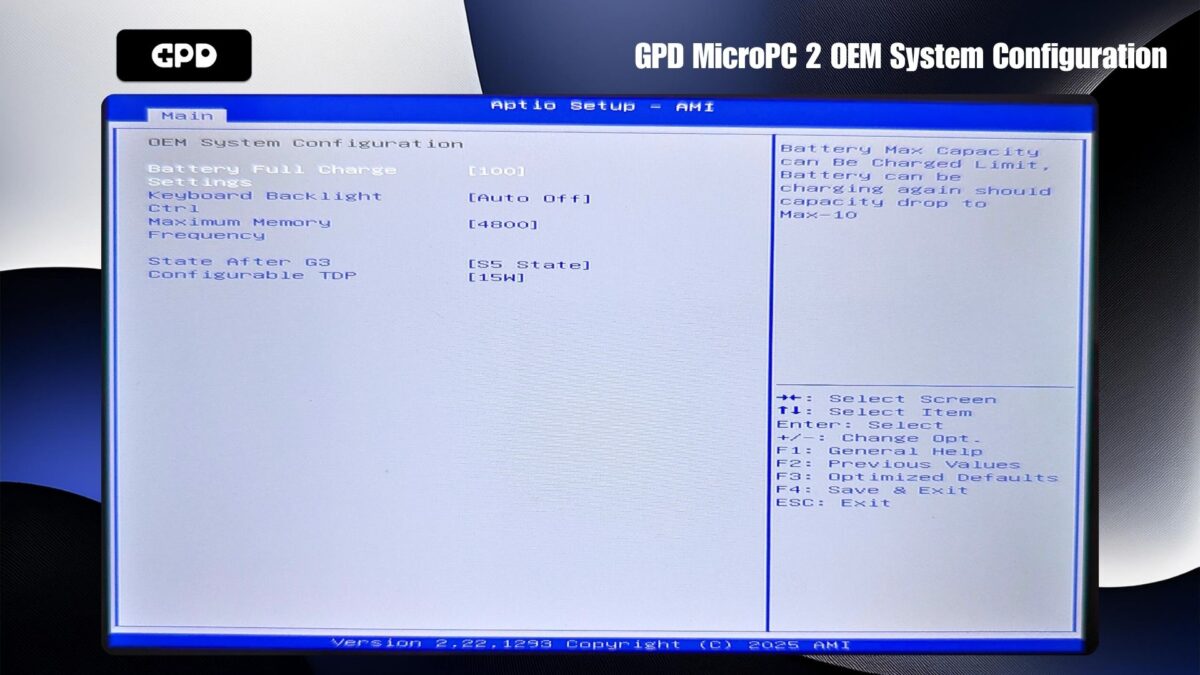
A menu will display with the available TDP settings (this may vary depending on the N250 or N300 model).
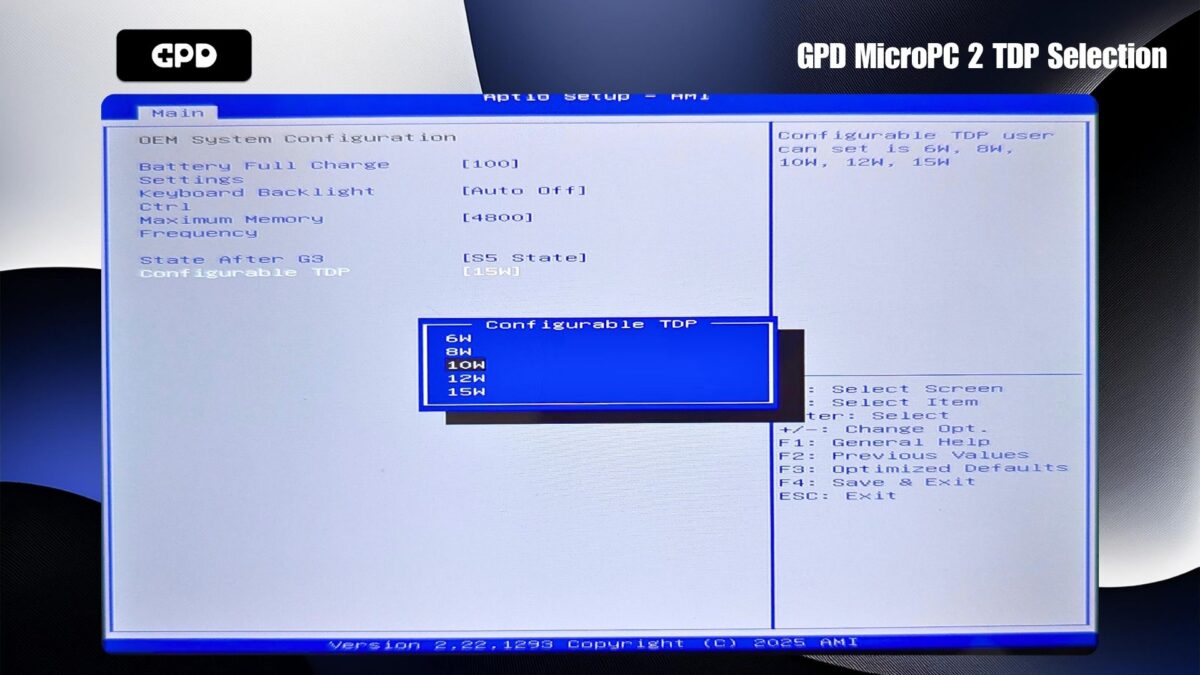
A lower Wattage number will consume less power and in return lower performance, while a higher number will use more power and in return higher performance. By default the TDP is set to 10W. Using the Up & Down keyboard keys, choose your TDP and press the Enter key to select it.
Press the ESC keyboard key once to return to the main menu and then use the Left & Right keyboard keys to change the menu to Save & Exit. Choose the Save Changes and Exit option.
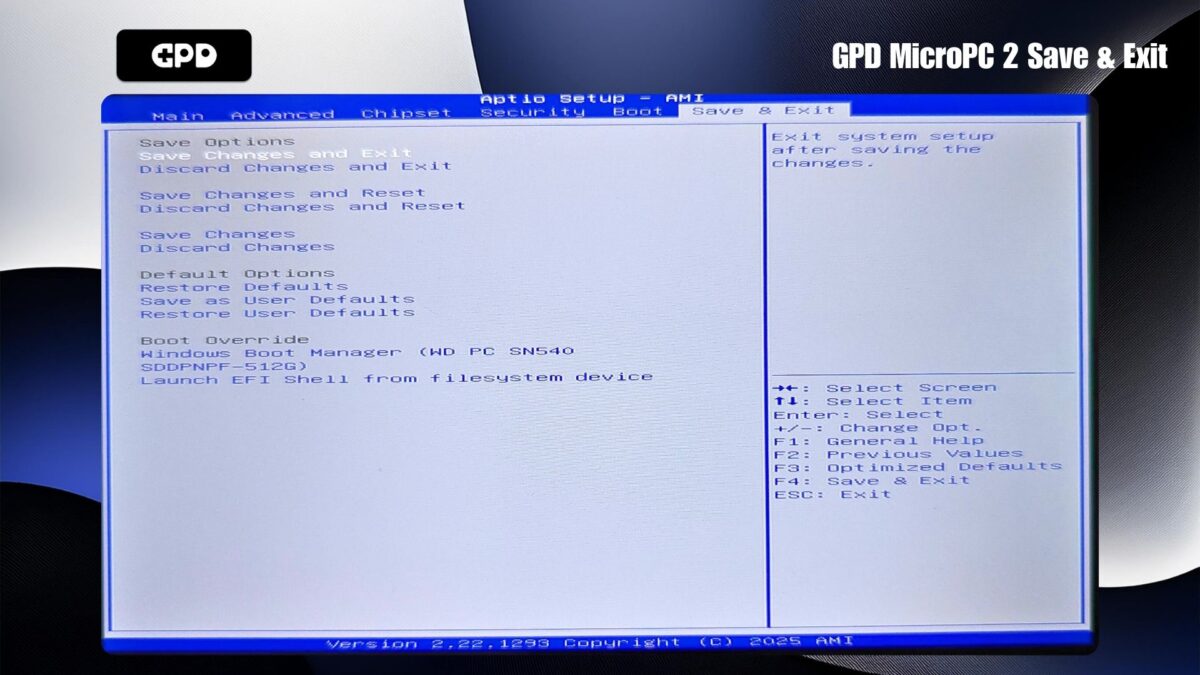
Your GPD MicroPC 2 will now reboot with the newly chosen TDP and once booted into Windows you can continue to use your device.


