To reinstall Windows on your GPD mini laptop or handheld gaming PC, you will likely have an .ISO image that must first be copied to a USB drive. You will then need to boot your GPD device from this drive to begin the installation. This tutorial will explain the procedure for creating bootable USB drives with the Rufus utility.
To start, you will need to download and set up the most recent version of Rufus from its official homepage. You should also have the Windows .ISO file saved to your PC and possess a USB drive with enough storage for the installation; 16GB is generally sufficient, but a 32GB or larger drive is a safer option.
Launch Rufus, and a user interface resembling the one in the image below will be displayed.
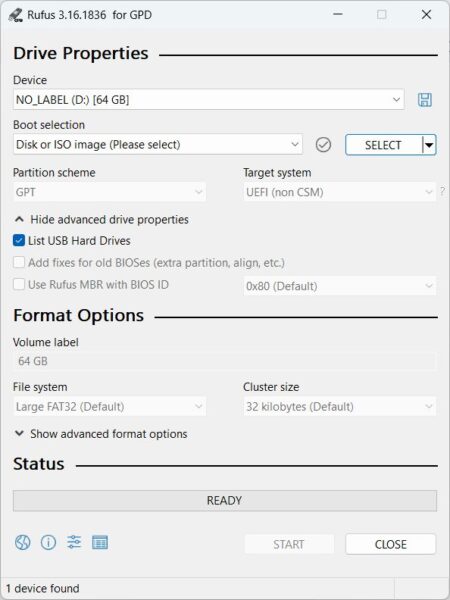
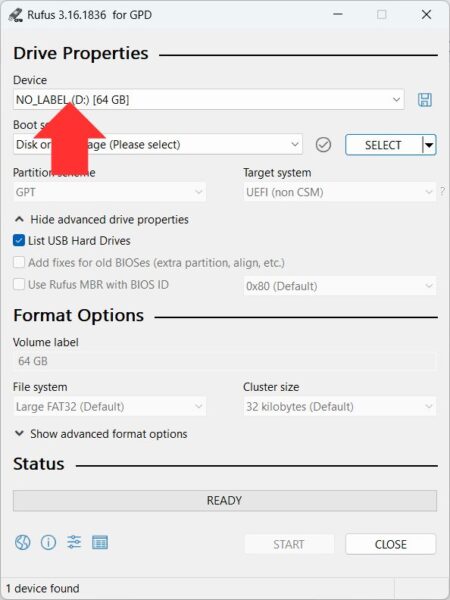
Initially, you must click on the Device dropdown menu and choose your USB drive from the available options. This is the drive the .ISO file will be written to. It is critically important to double-check and even triple-check that you have selected the correct drive, as choosing the wrong one could erase your main Windows installation on the computer you are currently using.
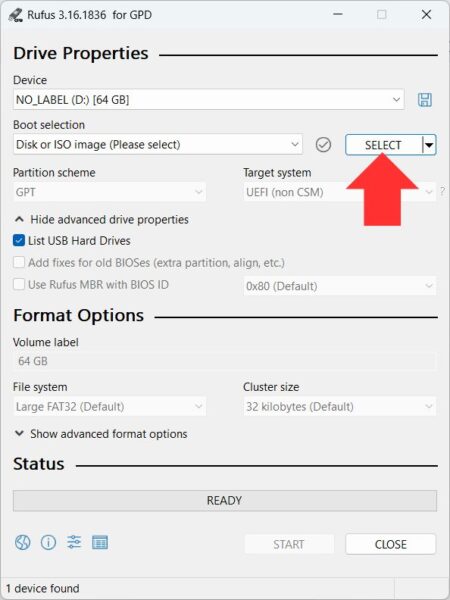
After that, press the SELECT button, browse to the location of your .ISO image, and select it.
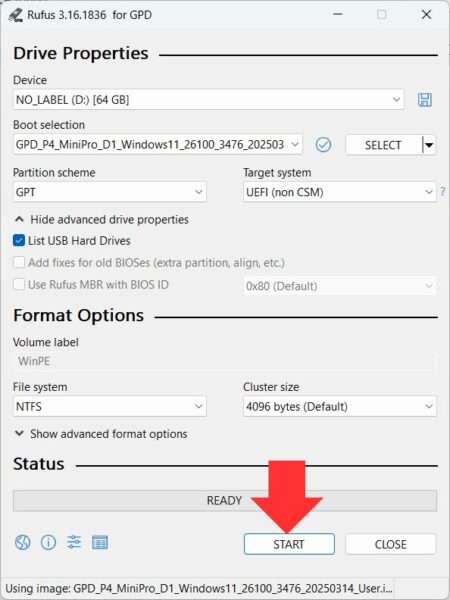
You can then click the START button to commence the .ISO image writing operation.
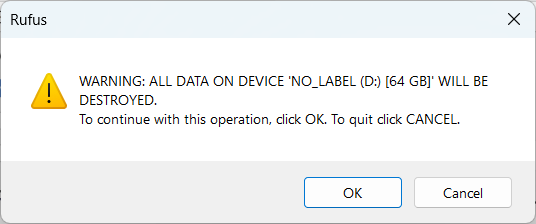
A final pop-up will appear, warning you to confirm that you have selected the correct destination drive for the .ISO file. Choose OK to continue or Cancel to return to the setup screen.
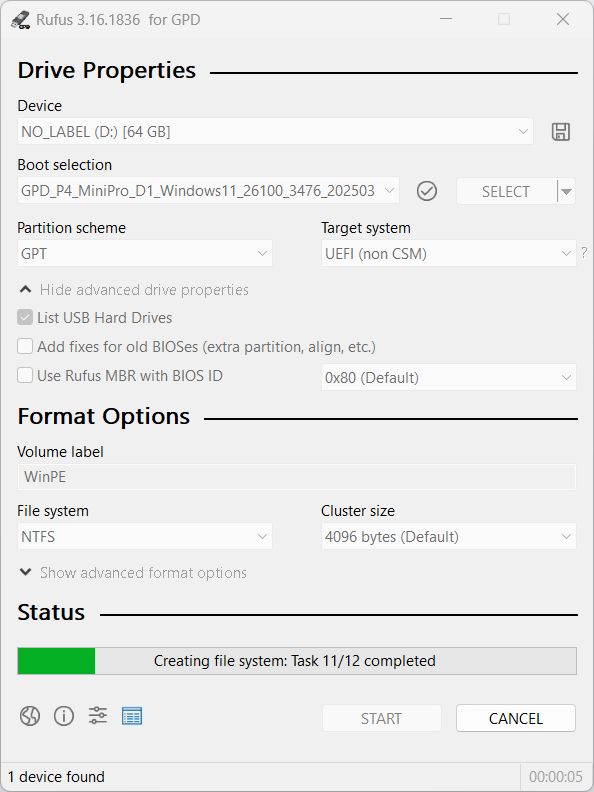
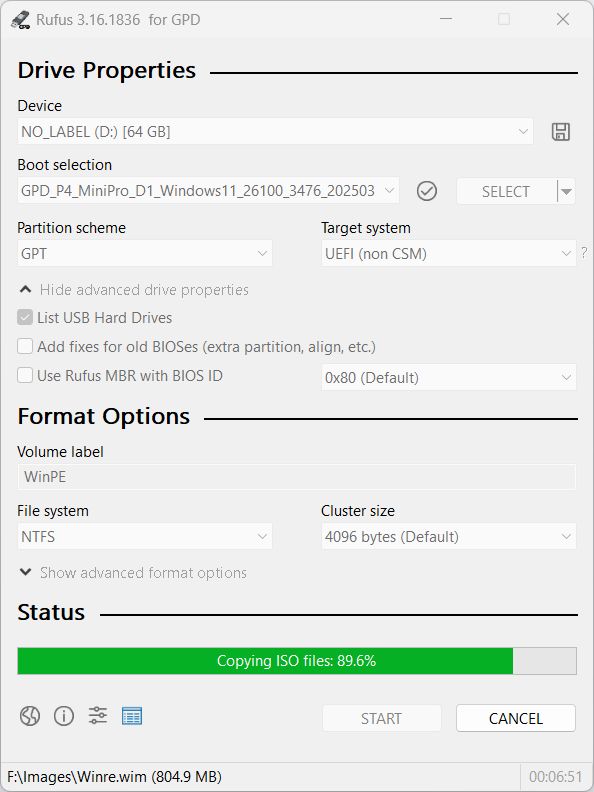
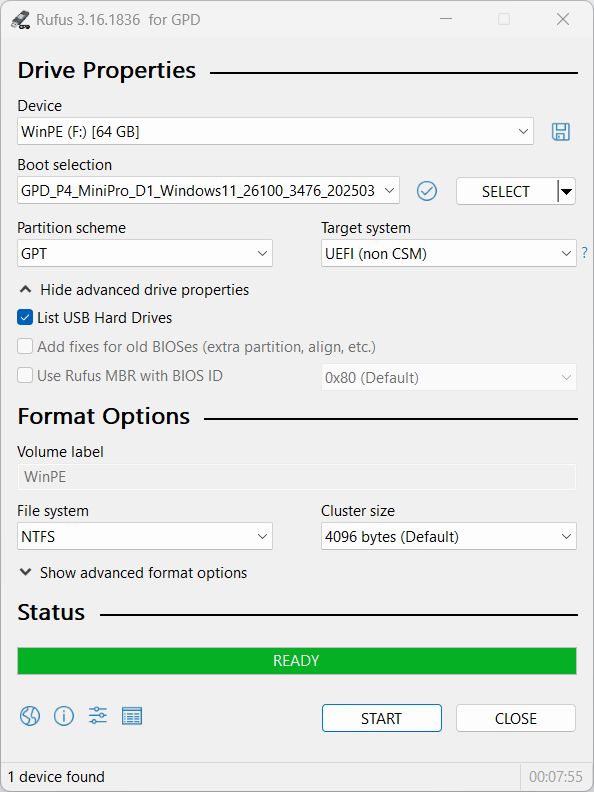
The writing procedure will then start. The duration of this process will depend on the size of your .ISO file and the speed of your USB drive, potentially taking several minutes or more. Wait for it to complete, at which point the green progress bar will indicate it is READY.
Once it has finished, you can safely eject the USB drive and proceed with the Windows installation on your GPD device.

